
 Leveling
Guides
OSRS Ironman Prayer: Bone Shards vs Green Dragon Bones
Two distinct paths for ironmen chasing Prayer XP: blessed bone shards from Varlamore's wealthy citizens at the libation bowl, or green dragon bones at a gilded/chaos altar. Compare requirements, risks, and realistic time-to-goal.
Game screenshots and facts are cited from the Old School RuneScape Wiki (strategy, equipment, drops, and related pages). Writing is original editorial, not a copy of the wiki article.
Prayer is one of the most punishing skills on an Old School RuneScape ironman. Unlike mains, you cannot simply buy thousands of dragon bones from the Grand Exchange and offer them at a gilded altar. Every bone, every shard, every jug of wine has to be gathered, processed, and transported by you. That single difference turns Prayer from a gold-spending exercise into a planning puzzle.

Two popular routes dominate ironman Prayer training today. The first leans into Varlamore's skilling ecosystem: pickpocket wealthy citizens for blessed bone shards, then sacrifice them at the libation bowl for 5–6 Prayer experience per shard. The second is the old combat loop: kill green dragons for dragon bones, then offer them at the chaos altar or a gilded altar for huge multipliers. Both work, but they target very different playstyles, risk profiles, and mid-game account goals.


Early Prayer Goals and Why the Route Matters
Before choosing a method, know what you are actually chasing. Prayer unlocks some of the most powerful tools in OSRS: protection prayers, Piety, and the Elite Desert Diary's Prayer requirement. For ironmen, the first major breakpoints are level 43 for Protect from Magic, Missiles, and Melee, and level 45 for all stat-boosting prayers up to Mystic Might. Later, level 70 gives Piety, and level 85 is required for the Elite Desert Diary.
- 30 Prayer — minimum to use the libation bowl
- Completion of Children of the Sun — access to Varlamore and the Teomat
- 43/45 Prayer — protection prayers and Mystic Might
- 70 Prayer — Piety
- 85 Prayer — Elite Desert Diary
Early questing can skip a surprising amount of the low-level grind. Completing all of the following quests rewards enough Prayer experience for roughly 37 Prayer: The Restless Ghost, Priest in Peril, Holy Grail, Recruitment Drive, Rag and Bone Man I, Ghosts Ahoy, Making History, Spirits of the Elid, and Another Slice of H.A.M. Holy Grail alone gives 11,000 Prayer experience for very low requirements, while Spirits of the Elid offers 8,000. That quest list matters because starting at 37 Prayer means you only need a few more levels to reach protection prayers, and you skip the worst of burying regular bones.
Method A: Bone Shards at the Libation Bowl
The libation bowl is located at the Teomat, the northern building in Varlamore's city of Civitas illa Fortis. Starting at 30 Prayer, you can fill the bowl with jugs of blessed wine or jugs of blessed sunfire wine and sacrifice blessed bone shards for Prayer experience. Plain blessed wine gives 5 experience per shard; blessed sunfire wine gives 6 experience per shard. Each offering drains two Prayer points, but you can recharge at the Shrine of Ralos in the southern building.

The real draw is speed and scale. Up to 100 blessed bone shards can be sacrificed per action, for a total of 500 or 600 Prayer experience. Sacrificing happens automatically as long as you have wine, shards, and Prayer points, and you can click manually to accelerate it. The zealot's robes have a chance to save sacrificed blessed bone shards, and the save can trigger separately for each individual shard rather than per sacrifice of 100.


How One Inventory of Wine Converts
One jug of blessed wine fills the bowl enough to sacrifice 400 blessed bone shards. With a full inventory of 27 jugs of blessed sunfire wine, you could sacrifice up to 10,800 bone shards per inventory, awarding 64,800 Prayer experience in only about 65 seconds of sacrificing. That drains 216 Prayer points, so you will need a few trips back to the Shrine of Ralos to recharge before finishing all your shards. The bottleneck, as always, is obtaining the shards themselves.
For ironmen who prefer skilling over combat, pickpocketing wealthy citizens in Varlamore has become the standard source of blessed bone shards. These NPCs can also drop other useful items, and the thieving loop is low-risk outside of the occasional stun. Because exact pickpocket requirements, success rates, and shard quantities change with updates, always check the libation bowl wiki page or the Ironman Guide/Prayer for current numbers before committing hundreds of hours. The method is attractive for hardcore ironmen because it involves no Wilderness risk and no combat.
Method B: Green Dragon Bones and Altar Multipliers
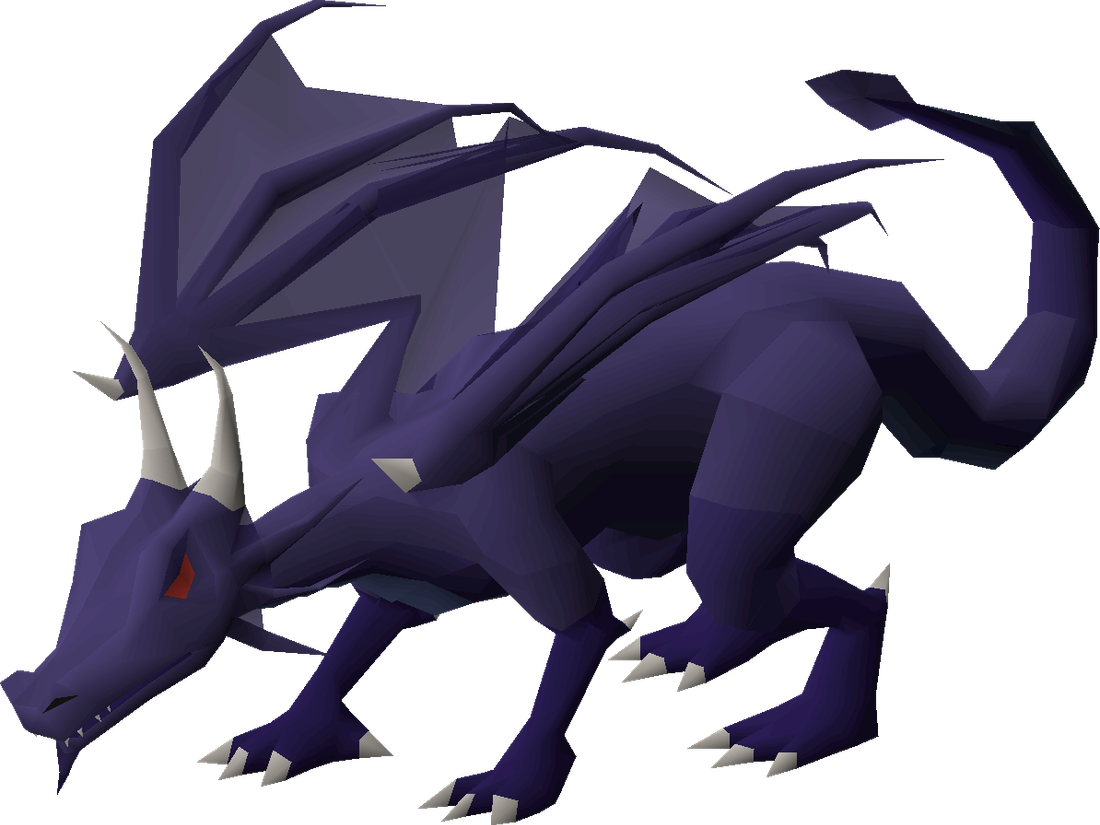
The combat path is familiar: kill green dragons for dragon bones, then offer them at a high-multiplier altar. Dragon bones give 72 base Prayer experience when buried, but altars multiply that dramatically. The chaos altar in level 38 Wilderness grants 350% experience per bone plus a 50% chance the bone is not consumed, averaging 700% experience per bone. The gilded altar in a player-owned house caps at 350% with both incense burners lit, but requires 75 Construction. The Ectofuntus gives 400% but is notoriously slow.


Altar Multiplier Comparison
| Method | XP multiplier | Requirements | Risk | Notes |
|---|---|---|---|---|
| Chaos altar | 700% average | None, but Wilderness access | High (PKers) | Fastest; use noted bones unnoted at elder chaos druid |
| Gilded altar | 350% max | 75 Construction | None if in POH | Can use Phials in Rimmington to unnote |
| Ectofuntus | 400% | Priest in Peril | None | Slow but no risk |
| Libation bowl | 5–6 XP per shard | 30 Prayer, Children of the Sun | None | Not directly comparable to bone XP; shard-based |
For green dragons specifically, the Wilderness locations are always active with player killers. Bring cheap, high-defence gear, high-healing food, and a teleport out. A stack of noted bones can be unnoted at the nearby elder chaos druid for faster offering, but that increases your risk. The OSRS Chaos Altar Prayer Training: Solo Survival Guide covers the survival loop in more detail. If you want to avoid PKers entirely, the Myths' Guild green dragons are a safer alternative, though they are gated behind quest progression and may have different banking distances. Verify the current requirements on the wiki before planning around them.
Where to Get Dragon Bones Beyond Green Dragons
Green dragons are not the only option. Blue dragons, red dragons, and frost dragons all drop dragon bones or better loot. Blue dragons in places like Taverley Dungeon are popular for safespotting with Ranged, while red dragons require higher combat and often have better safespots. Frost dragons are a late-game option locked behind Dungeoneering requirements. Each has different banking convenience and kill speed, so your choice depends on your current combat stats and Slayer goals.


Collecting big bones at Minotaurs' Rest is a low-requirement, low-risk method for early Prayer if you want to avoid dragons entirely. Big bones give less XP than dragon bones, but the location is safe and simple. Slayer tasks also produce a steady stream of bones and ashes; if you have access to the Arceuus spellbook and wrath runes, Demonic Offering and Sinister Offering can multiply ashes and bones during a Slayer trip without banking. Those spells require 95 Runecrafting for wrath runes, so they are not an early-game option, but they are worth keeping in mind for late-game passive Prayer XP.
Common Mistakes on Both Routes
Ironmen lose enormous amounts of potential Prayer XP by making small planning errors. The most common mistake is burying bones or scattering ashes instead of offering them at an altar. Even the Ectofuntus gives 400% XP compared to 100% for burying. Another frequent error is not doing the early quest list first: skipping 37 Prayer worth of quest XP means you waste hours gathering low-level bones.
At the libation bowl, players often forget that zealot's robes save shards individually, making them far more valuable than they first appear. They also forget to recharge Prayer points at the Shrine of Ralos and end up walking back and forth inefficiently. A full inventory of blessed sunfire wine drains 216 Prayer points, so plan your recharges around that number.
For dragon bones, players overestimate the safety of Wilderness green dragons during off-peak hours. Player killers camp those spots constantly, and one death can wipe out an hour of gathering. If you are not comfortable with the Wilderness, use the Myths' Guild green dragons or safespot blue dragons instead. Another mistake is not using noted bones at the chaos altar when possible; running unnoted bones one inventory at a time is significantly slower but safer.
Time and Cost Tradeoffs: The Honest Shortcut
Both methods have real time costs, and the best choice depends on what you value. Bone shard training via wealthy citizens is low-risk and pairs well with Thieving training, but it requires a large number of shards and wine jugs. Green dragon bones are quick to gather if you have decent combat and a safe spot, but the altar trip adds risk or Construction requirements. Neither route is objectively faster for every account; early quests and existing skill levels shift the balance.
For non-ironmen, buying dragon bones with gold is the classic shortcut — offer them at a gilded altar and skip the gathering entirely. For ironmen, gold cannot buy bones from the Grand Exchange, but it can still buy supplies like wine or runes if you are playing a main-adjacent account. Some players choose to buy a prayer training service for the most repetitive gathering loops, especially if they value their real-life time more than in-game time. Always check Jagex's rules on account sharing before considering any service, and never share your password with an unverified seller.
If you want to speed up the other parts of your account — gear, supplies, or even buying dragon bones on a main — a reliable gold source can help. Check live gold rates to see how much time you could buy back. Just remember that buying gold does not help an ironman acquire untradeable bone shards or untradeable quest rewards; it only greases the wheels on the main account side.
Practical Next Steps for an Ironman Prayer Plan
Here is a concrete order of operations for most ironmen:

- Complete all early Prayer quests: The Restless Ghost, Priest in Peril, Holy Grail, Recruitment Drive, Rag and Bone Man I, Ghosts Ahoy, Making History, Spirits of the Elid, Another Slice of H.A.M. Aim for 37+ Prayer.
- If you prefer skilling and have access to Varlamore, start pickpocketing wealthy citizens for blessed bone shards. Stockpile jugs of wine and consider making blessed wine or blessed sunfire wine.
- If you prefer combat or need Slayer levels anyway, kill green dragons in a safe spot or Wilderness depending on risk tolerance. Collect dragon bones.
- Choose your altar: use the chaos altar if you can handle Wilderness risk; build a gilded altar if you have 75 Construction; use the libation bowl if you went the shard route; use Ectofuntus only if you want zero risk and have time.
- Set incremental Prayer goals: 43, 45, 70, 85. Check the wiki for current XP tables and make sure you are not wasting supplies on a level you could have quested through.
For more on surviving the chaos altar loop, read OSRS Chaos Altar Prayer Training: Solo Survival Guide. For current wiki details on every method, including exact drop tables and requirements, always refer to the Ironman Guide/Prayer and Libation bowl pages.
Sources
Frequently asked questions
What is the fastest way to train Prayer on an OSRS ironman?
The chaos altar offers the highest average multiplier at 700% per bone, making it the fastest if you can handle Wilderness PK risk. The libation bowl with blessed sunfire wine is competitive for shard-based training and has no PK risk, but gathering shards takes time.
How do I get blessed bone shards from wealthy citizens in Varlamore?
Wealthy citizens in Varlamore can be pickpocketed for blessed bone shards. Exact Thieving requirements and drop rates change, so verify current numbers on the libation bowl wiki page before grinding. This method pairs well with Thieving training and avoids combat.
Is the libation bowl better than the chaos altar for ironmen?
It depends on your account. The libation bowl is safer and works well with skilling, but requires gathering shards and wine. The chaos altar is faster per bone but carries Wilderness risk. For hardcore ironmen, the libation bowl is often the safer choice.
Where are the safest green dragons for ironmen to kill?
Myths' Guild green dragons are the safest because they are not in the Wilderness, but they are quest-locked. For lower requirements, safespotting blue dragons in Taverley Dungeon is safer than Wilderness green dragons, though kills are slower.
What Prayer level should I aim for on an ironman?
Aim for 43 Prayer for all protection prayers, 45 for Mystic Might, 70 for Piety, and eventually 85 for the Elite Desert Diary. Early quests can get you to 37 Prayer, so complete those before gathering bones or shards.
Can I use dragon bones at the libation bowl?
No, the libation bowl only accepts blessed bone shards, not dragon bones. Dragon bones are for altars like the chaos altar, gilded altar, or Ectofuntus. Blessed bone shards come from Varlamore activities such as pickpocketing wealthy citizens.
How much Prayer XP do early quests give on an ironman?
Completing all early Prayer quests rewards enough experience for roughly 37 Prayer. Key rewards include Holy Grail's 11,000 XP, Spirits of the Elid's 8,000 XP, and Ghosts Ahoy's 2,400 XP. Check the Ironman Guide/Prayer for the full list.
Marketplace
Get live rates, instant quotes, and hand-traded delivery on Trillionaire Services.
Related listings
 Leveling
OSRS Runecraft 77-99 Guide: GotR to Bloods & Wraths
Master OSRS Runecraft from Guardians of the Rift to profitable blood runes at 77 and beyond. See AFK vs efficient methods, gear, and realistic time to 99.
 Leveling
OSRS Birdhouses vs Herbiboar: The Fastest 80+ Hunter Training Guide
Compare passive birdhouse runs on Fossil Island with active Herbiboar tracking. Learn setup, XP rates, supplies, and when buying OSRS gold is the honest shortcut to 80 Hunter.
 Leveling
OSRS Construction 83/99 Guide: Mahogany Homes vs Mahogany Tables
Mahogany Homes contracts or mahogany tables inside your POH? We break down XP rates, supplies, costs, and why a maxed house adds serious resale value to any OSRS account.