
 Bossing
Boosting
OSRS Yama Contracts for Oathplate: Bossing Guide
Yama contracts for oathplate armour are a long, layered grind. This guide breaks down requirements, mechanics that kill players, gear rungs, drop math, KC goals, and when a carry is reasonable.
Game screenshots and facts are cited from the Old School RuneScape Wiki (strategy, equipment, drops, and related pages). Writing is original editorial, not a copy of the wiki article.

Yama's contracts turn a mid-tier demon fight into an oathplate grind with layers of risk, contribution tracking, and specific contract variants. If you're eyeing oathplate armour, you are not just farming a boss—you are deciding between direct unique rolls, shard crafting, and negative-profit contract runs that guarantee progress. This guide covers what to expect before you commit hours, from the unlock chain and death fees to the math behind 450 shards and 1/600 armour pieces.

The base encounter is duo-friendly like the Royal Titans, but several contract versions push you into solo or modified mechanics. We'll walk through the mechanics that actually end trips, gear rungs that matter, and when a paid carry saves more than it costs.

Yama Contracts and Oathplate: What You're Signing Up For
Yama is a demonic duo-focused boss found in Yama's Domain at the bottom of the Chasm of Fire. His base fight emphasises movement and prayer switching, designed as a step up from the Forgotten Four. You can fight him solo or with a partner, and loot is distributed based on damage dealt—similar to Royal Titans, but with more punishing individual contribution thresholds.
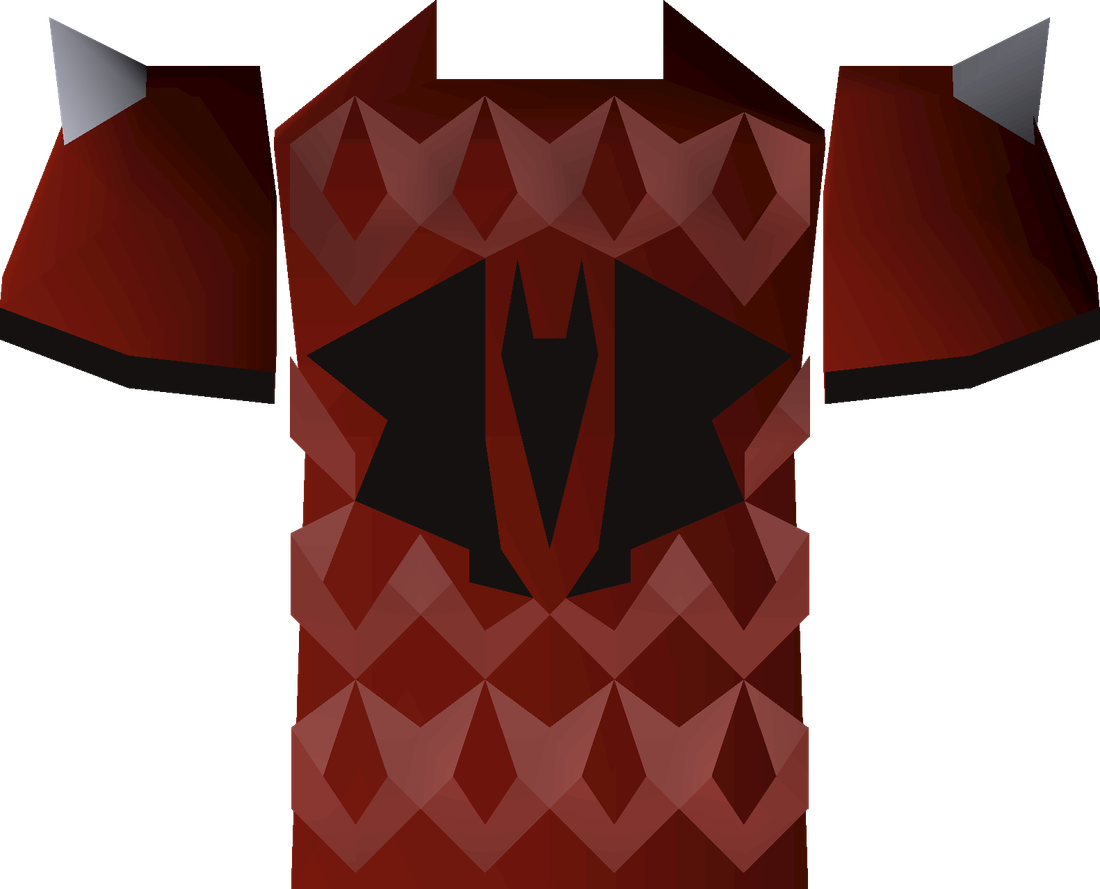
The unique reward space is what draws most players: Yama drops pieces of oathplate armour, the soulflame horn, dossiers, forgotten lockboxes, and oathplate shards. Oathplate armour requires level 78 Defence and is slash-accuracy focused, making it a serious upgrade for high-defence slash-weak bosses like Vardorvis, Duke Sucellus, Verzik Vitur, and even Yama himself.
Tradeable contracts modify the fight and the reward structure. The Contract of Glyphic Attenuation, for example, raises Yama's health to 2,875, gives him +80 crush defence and +666 all other defence bonuses, reduces glyph protection from 10 ticks to 3, and makes you take 3x more damage when absorbing a Glyph of Fire. It is consumed on entry, but you get it back if you win—and it progresses you toward the purifying sigil for radiant oathplate.
Always verify current contract mechanics and active sigils on the live wiki before a session. Jagex has adjusted contract drops before, and the Disciple of Yama outside the Chasm of Fire can tell you which sigil is active for demon-based contract farming.
Requirements and Unlock Checklist
Before stepping into Yama's Domain, make sure the account meets the quest and skill gates. The fight itself has soft stat recommendations, while crafting oathplate from shards has hard skill requirements.
Unlock and stat checklist
- Completed A Kingdom Divided quest
- Return to the Chasm of Fire and speak to the Voice of Yama on the bottom floor
- Accept Yama's base contract to unlock the fight
- For efficient solo kills: base 80s in melee, 75+ in support skills, 80+ Prayer, 77+ for Augury (verify exact icon requirements on the wiki)
- For crafting oathplate: 78 Mining and 83 Smithing (boostable), plus 450 oathplate shards and 2,520 crushed infernal shale per piece
Oathplate crafting is a meaningful alternative to direct drops, but it is not cheap. Each piece requires 9 infernal plates made from shale and shards, earning roughly 22,000 Smithing xp per piece. The shards come from Yama, while shale is mined separately. Because the armour counts as Zamorakian gear in God Wars Dungeon, it doubles as utility for GWD trips.
Fight Overview: The Mechanics That Kill Players
Yama's combat achievements read like a list of ways to die. The fight has a judge mechanic that punishes attacking with the wrong style, forced exile from the arena, a shadow crash attack where you need to be close to the centre, fire damage, and void flares that must be killed with special attacks.
The base encounter is not forgiving. Mistiming a prayer switch or misjudging the shadow crash centre is usually lethal. Without a partner, you have to manage every mechanic yourself; with a partner, you still need to pull your weight because contribution directly scales your reward chances. Below 375 damage (15% of his health) you roll the junk table instead of the unique chain.
Death is dangerous. Dying at Yama sends you back to the Voice of Yama, not your respawn point. Your gravestone appears there, and the reclamation fee is reduced by 75% until you have 10 kills—after that, standard death costs apply. Any Item Retrieval Service (deathbank) contents are lost on death, Hardcore Ironmen lose status, and Hardcore Group Ironmen lose a life.
The Contract of Glyphic Attenuation makes the fight worse in specific ways: better defences, shorter glyph protection, and 3x fire absorb damage. That contract is not a first-kill goal; treat it as a later challenge or a boost target.
Gear Rungs: From Budget Slash to Oathplate Itself
Before you own oathplate, bring the best slash-accuracy gear you can afford. Oathplate's strength bonus is on par with Bandos plus a Neitiznot faceguard, but its real value is +38 slash attack across the set and very high slash/magic defence. Compared to Torva, it trades raw strength and prayer bonus for slash accuracy and better slash/magic defence—against high-defence slash-weak targets, that accuracy often wins.

If you are grinding Yama specifically to obtain oathplate, remember that the armour is also best-in-slot for many slash-weak bosses. Once you have it, your next upgrades become easier. For the Yama fight itself, standard high-level melee or ranged setups work, but check a current strategy page for exact switch recommendations—Yama's mechanics punish slow gear swaps as much as poor prayer.
Trip Length, Death Fees, and Supply Burn
Early trips are short. Expect to die while learning the judge and exile patterns, and the reduced reclamation fee until 10 KC cushions some of that cost. Once you can consistently avoid the shadow crash and fire, a single inventory of supplies will last much longer. The base fight rolls standard loot, but many contracted fights do not roll the standard table at all—they replace it with guaranteed contract rewards.
Cost per hour varies wildly. Some Yama methods are negative profit because the contract item itself is expensive or the reward structure is biased toward untradeable progress. Check the table below and verify current prices before committing to a specific contract type.
| Method | Approx Hourly Profit | Notes |
|---|---|---|
| Killing Yama (solo) | 5,039,335 | Base fight, no contract cost, standard loot table. |
| Contract of Shard Acquisition (duo) | 13,174,957 | Requires duo; shard-focused rewards scale with contribution. |
| Contract of Oathplate Acquisition | −10,493,512 | Guaranteed oathplate progress but expensive to run. |
| Contract of Catalyst Acquisition (duo) | 4,156,569 | Duo catalyst rewards, moderate profit. |
| Contract of Harmony Acquisition | −2,372,306 | Negative profit harmony variant. |
These figures come from the OSRS Wiki money making guides and assume efficient kills. If you are not hitting those speeds, your supply burn per kill will be higher and your profit lower. The negative-profit methods still cost money, so plan your budget before buying contracts.
Common Mistakes That Inflate Your KC
Most players waste time at Yama with avoidable errors. A few of the most frequent:
- Under-contributing in duo: Below 375 damage rolls junk; lower contribution scales down unique chances. Do not leech—you get nothing but a fast death.
- Wrong style on the judge: The judge punishes incorrect attack style. Pay attention to its protection or indication.
- Standing too far from the shadow crash centre: The achievement requires being within one tile of the centre; the mechanic itself likely punishes distance.
- Ignoring void flares: These must be killed with special attacks. If you do not have special attack energy, you take avoidable damage.
- Healing or drinking potions carelessly: Several combat achievements restrict food to plain pizza and ban potions entirely. If you are not aiming for those tasks, fine—but know the restriction exists.
- Losing Item Retrieval Service contents: Dying at Yama wipes IRS. Do not store untradeables in a deathbank before this fight.
- Missing the yellow sigil window for demon contract drops: Contract of Glyphic Attenuation drops from demons in the Chasm of Fire only when the killing blow is a special attack, with a 5x boost while the yellow sigil is active.
Fix these and your effective kill count—and profit per hour—improves quickly.
Drop Table, Contracts, and Oathplate Math
Yama's drop system is sequential and contribution-scaled. If you deal at least 375 damage, you roll 1/120 for the unique table. That unique table gives 3/5 oathplate armour piece and 2/5 soulflame horn. If you miss, you roll 1/12 for a dossier, then 1/30 for a forgotten lockbox, then 1/15 for 12 oathplate shards. If all those fail, the standard table is rolled—unless you are under a non-Familiar contract, where the standard table is skipped entirely.

Effective solo rates at 100% contribution are roughly: each oathplate piece at 1/600, soulflame horn at 2/600, dossier at 1/12.1, forgotten lockbox at 1/33, and shards at 12 per 1/17.07. Duo rolls are individual and scale by contribution, so two players can both receive uniques from the same kill if they both contributed enough.
For oathplate specifically, direct pieces are the jackpot but rare. Crafting is the deterministic path: 450 shards per piece, which means 1,350 shards for the full set if you go dry on direct drops. At a solo 100% contribution rate of about 0.70 shards per kill, that is roughly 1,900 kills—long, but guaranteed progress. The Contract of Oathplate Acquisition exists to make that progress faster, but it costs about 10 million gp per hour in losses according to the wiki money making guide.
KC Goals and Combat Achievement Targets
Yama's combat achievements give you clear milestones:
- 1 KC — Yama Adept (Elite, 4 points)
- 50 KC — Yama Veteran (Master, 5 points)
- Under 3:38 average — Yama Speed-Trialist (Elite, 4 points)
- Under 3:00 average — Yama Speed-Chaser (Master, 5 points)
- Under 2:34 average — Yama Speed-Runner (Grandmaster, 6 points)
- Contractually Unbound — Defeat Yama under elevated conditions of a non-standard contract (Grandmaster, 6 points)
Completing all tasks requires perfection-level play: Shadow Dancer, Fire Fighter, Back so soon?, and no avoidable damage for the Grandmaster Contract Choreographer task. Those are not casual grinds. If you only need oathplate, 50 KC is a reasonable checkpoint to aim for before deciding whether to continue.
When a Quote or Carry Makes Sense
Yama is not a boss you want to brute force with low stats and no plan. A paid carry or duo boost is reasonable in a few cases:
- You want the 50 KC milestone for Yama Veteran and do not want to spend 10–15 hours learning mechanics.
- You need Contractually Unbound but cannot clear a modified contract solo.
- You want Oathplate armour and the negative-profit Contract of Oathplate Acquisition is unattractive; a fast partner increases kills per hour, spreading the cost differently.
- You are a Hardcore or Group Ironman and cannot risk the dangerous death—a carry avoids that risk entirely.
However, because drops scale with contribution, a carry will not hand you uniques if you deal almost no damage. It saves time on KC, death fees, and combat achievements, not on the drop grind itself. If your goal is oathplate, buying shards or paying for a high-efficiency duo partner is often cheaper than losing 10m per hour on a solo contract.
Get a service quote if you want a realistic cost comparison before committing hours.
Sources
Frequently asked questions
What are the requirements to fight Yama in OSRS?
You must complete A Kingdom Divided, then speak to the Voice of Yama on the bottom floor of the Chasm of Fire to accept his base contract. There are no hard combat level requirements, but efficient solo kills assume base 80s in melee, 75+ support skills, and 80+ Prayer. Oathplate crafting has separate requirements: 78 Mining and 83 Smithing.
How do Yama contracts for Oathplate armour work?
Some contracts, like Contract of Oathplate Acquisition, guarantee progress toward oathplate but have negative profit. The base fight rolls uniques at 1/120 with contribution scaling, and oathplate pieces are 1/600 each at 100% contribution. You can also craft pieces using 450 oathplate shards plus infernal shale, which is deterministic but slow.
Is Yama a solo or duo boss?
Yama's base form is duo-friendly like Royal Titans, and loot scales individually with contribution. You can fight solo, but mechanics are harder to manage alone. Duo kills are faster and can yield two uniques per kill because each player rolls separately. However, if you deal less than 375 damage, you roll the junk table.
What is the best money-making contract at Yama?
According to the OSRS Wiki money making guide, the Contract of Shard Acquisition in duo offers about 13.1 million gp per hour. Solo base Yama is around 5 million gp per hour. Contract of Oathplate Acquisition and Contract of Harmony Acquisition are negative profit, costing 10.5m and 2.4m per hour respectively.
How many oathplate shards do I need for full Oathplate armour?
Each piece of Oathplate armour requires 450 oathplate shards, so a full set needs 1,350 shards if you craft everything. Direct drops can bypass shards, but each armour piece is 1/600 at 100% contribution. Expect a grind of hundreds to over a thousand kills unless you get lucky with direct unique rolls.
What happens when you die at Yama?
Death at Yama is dangerous. You are sent to the Voice of Yama instead of your respawn point, and your gravestone appears there. Reclamation fees are reduced 75% until you have 10 kills, then normal costs apply. Any Item Retrieval Service contents are lost, and Hardcore Ironmen lose their status.
Is it worth buying a Yama carry for Oathplate?
A carry is reasonable if you want KC milestones or combat achievements without learning the fight, or if you cannot risk dangerous death. But because drops scale with contribution, a carry will not hand you uniques unless you contribute enough. For pure Oathplate acquisition, buying shards or a fast duo partner may be more cost-effective than negative-profit solo contracts.
Marketplace
Get live rates, instant quotes, and hand-traded delivery on Trillionaire Services.
Related listings
 Bossing
OSRS Kalphite Queen Boss Guide 2026: Diary, Head, Farm
A deep dive into the Kalphite Queen in 2026: two-form mechanics, gear rungs, Desert Diary head drops, and whether KQ remains a realistic solo farm.
 Bossing
OSRS Royal Titans Duo Guide: Boss Roles, Loot, Carry (2025)
Royal Titans is Old School RuneScape's best entry point into duo PvM. Learn phase-by-phase mechanics, gear rungs, contribution scaling, unique drops, common mistakes, and when a carry makes sense.
 Bossing
Moons of Peril Mid-Game Gear: What Drops Matter and How Hard It Really Is
A practical OSRS boss guide for Moons of Peril—mechanics that kill runs, gear rungs, trip length, and the drops worth chasing for mid-game accounts.